I had more cake pops to make for a couple birthdays and a party, and I was more focused on taking pictures so you can enjoy the process with me!
Start with a 9x13 cake crumbled into a bowl (I used a 8x8 cake because I had to make cupcakes, too)
Add enough frosting to hold the "dough" together. Start with 2-3 dollops and add more if needed.
Shape into 1-1.5 inch balls. I used the small Pampered Chef cookie scoop. Refrigerate 2-3 hours or freeze for about 15 minutes. You just want them to get firm.
While the cake balls are chilling in the freezer (ha ha!), melt your chocolate. I used a small melting pot. A double boiler would work, but the melting pot is deeper but smaller so easier to use all the chocolate I melted.
Dip just the tip of a sucker stick in the melted chocolate and push about half way through the cake ball.
Dip in chocolate making sure to completely cover all the cake (like I didn't do in the picture) and gently tap off excess chocolate.
It's helpful to have a piece of foam (use the white styrofoam...not the green floral foam I have here.). And don't waste your money on this cake pop stand. Normally I like their products, but this was a waste of money. It's just cardboard and the holes don't line up well so I fought with it for all 3 pops I put in it!
It didn't happen last time, but some of the pops cracked. Probably because I dipped them straight from the freezer. So you can see where I redipped one above.
When the chocolate is dry, drizzle melted chocolate over the pop. Then package when completely hardened and be prepared for oohs and aahs!
Showing posts with label amm designs. Show all posts
Tuesday, June 14, 2011
Saturday, June 11, 2011
Cake Pops
Since seeing Bakerella's website, I've been wanting to make cake pops. Since then, it seems I've been hearing about cake pops everywhere. Last weekend, I finally took the time to make them.
They're pretty easy, but they look (and taste) awfully impressive! This batch was Red Velvet cake with vanilla frosting (I thought I had cream cheese frosting and didn't realize it until I was ready to make them).
Basically, you bake a 9x13 cake; and when it's fully cooled, you crumble it into a large bowl. Mix in enough frosting to make a dough about the consistency of sugar cookie dough - too little and everything won't stick together; too much and everything will be really sticky! Form into balls, refrigerate until a little more firm, insert lollipop stick and dip in chocolate.
There are definitely things I'll do differently next time, but I'm pretty happy with my first attempt!
They're pretty easy, but they look (and taste) awfully impressive! This batch was Red Velvet cake with vanilla frosting (I thought I had cream cheese frosting and didn't realize it until I was ready to make them).
Basically, you bake a 9x13 cake; and when it's fully cooled, you crumble it into a large bowl. Mix in enough frosting to make a dough about the consistency of sugar cookie dough - too little and everything won't stick together; too much and everything will be really sticky! Form into balls, refrigerate until a little more firm, insert lollipop stick and dip in chocolate.
There are definitely things I'll do differently next time, but I'm pretty happy with my first attempt!
Tuesday, May 24, 2011
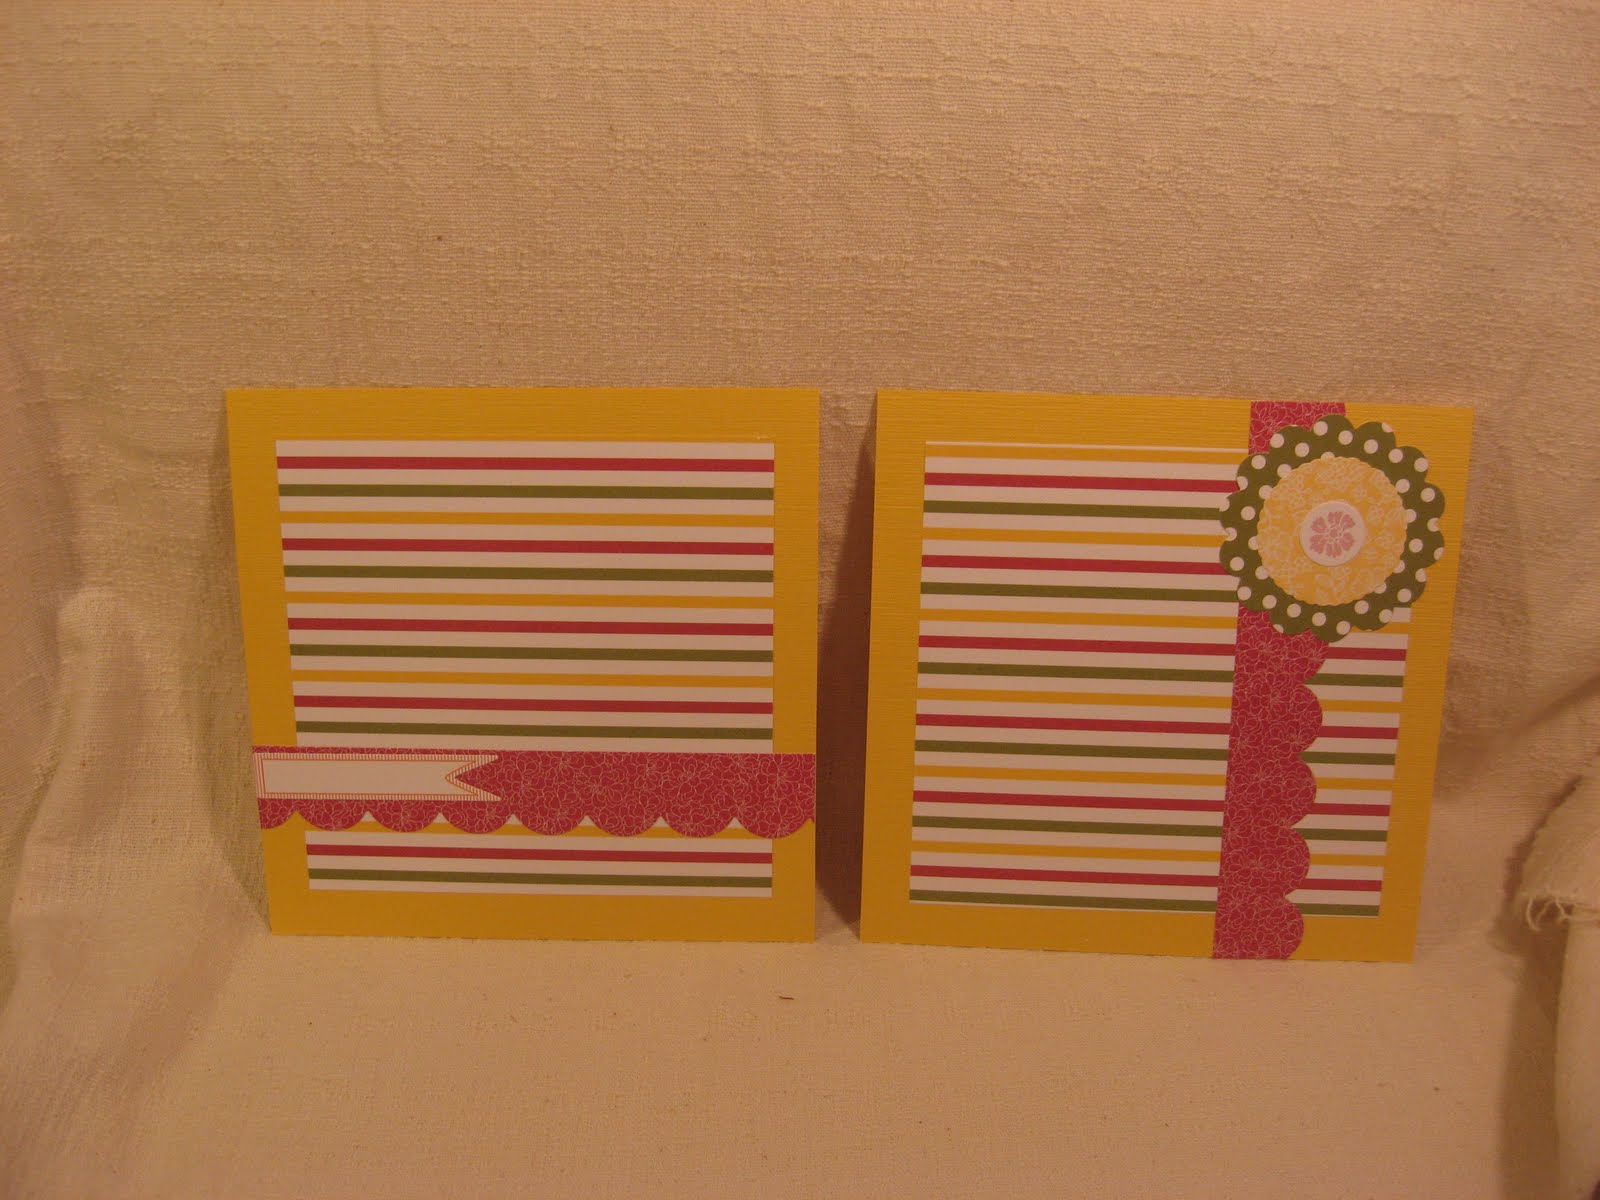
Playful Polka Dots Mini Album Pages (6x6)
This set of mini album (6x6) pages is made from 1/2 a Simply Scrappin' Kit. This particular kit is the Playful Polka Dots from the Summer Mini Catalog (item 122346).
Since all the materials are included in the kit, nothing extra is needed. (Maybe just some adhesive and scissors.) Just cut and go.
Make a 10-page Mini Album (6x6) for only $25! You only need adhesive! This class is perfect for beginning scrapbookers or for people who need a quick gift for any occasion!
Or you can make just the pages for $15. If you would like to make more than one set of pages, each additional set is only $10 when purchased by the same person.
Receive $5 off with an additional $25 order.
This class will be Friday, June 10 - 7:00-8:30. RSVPs needed by May 31 to order class materials.
If you are interested in making the album but cannot attend the class, I can mail the page materials for $20 (or you can pick them up for $15) - please let me know by 5-31. Materials will be mailed on June 11.
Please feel free to tell anyone you think would be interested!
Since all the materials are included in the kit, nothing extra is needed. (Maybe just some adhesive and scissors.) Just cut and go.
Make a 10-page Mini Album (6x6) for only $25! You only need adhesive! This class is perfect for beginning scrapbookers or for people who need a quick gift for any occasion!
Or you can make just the pages for $15. If you would like to make more than one set of pages, each additional set is only $10 when purchased by the same person.
Receive $5 off with an additional $25 order.
This class will be Friday, June 10 - 7:00-8:30. RSVPs needed by May 31 to order class materials.
If you are interested in making the album but cannot attend the class, I can mail the page materials for $20 (or you can pick them up for $15) - please let me know by 5-31. Materials will be mailed on June 11.
Please feel free to tell anyone you think would be interested!
Tuesday, April 5, 2011
More Teacher Gifts
Still along the lines of altered candy gifts, I had some extra mints after the Christmas season craft shows; and my sister gave me a box of baby food jars. This is what I came up with:
Sunday, April 3, 2011
Flowers Galore
Several months ago, I asked my mom (who has been crocheting for as long as I can remember) to make me some flowers. I thought for sure she would love to make some lovely flowers for her favorite eldest daughter. As I eagerly anticipated receiving this wonderful gift, I checked my email. Instead I found 3 emails with links to patterns and even a YouTube video.
Since I realized I was going to have to make them myself if I wanted some flowers, I grudgingly purchased some yarn and a crochet hook. Aside from knowing how to make a chain and simple single crochets, I don't know how to crochet - so my first few flowers were more like lopsided, wavy circles. But after watching the video above about 15 times and pausing every few seconds, I eventually got the hang of it!
The problem is that now I find I'm addicted to making flowers. I'm supposed to be doing other things (like laundry, dishes...), but all I want to do is crochet flowers! I'm quickly amassing a collection of different yarns and crochet hooks and dreaming of everything I can embellish with a cute little crocheted flower...
These are larger flowers (just made with thicker yarn). I actually forgot that Mandy had sewn a button in the center of her flowers when I sewed these on, but I originally envisioned a brad in the center.

At some point, I will probably attach some of these to cards or some other paper craft with a brad - or with a button like these.
For now, though, I will just have fun making hundreds of little flowers in different colors!
(My flowers look a little different than the ones in the video because I (not being a crocheter) did not know the difference between a double crochet and a triple crochet. So anywhere that calls for a dc is actually a tc in these pictures. The good news is that now the flowers won't take as long to make, and I'll use less yarn which means...more flowers!!)
Since I realized I was going to have to make them myself if I wanted some flowers, I grudgingly purchased some yarn and a crochet hook. Aside from knowing how to make a chain and simple single crochets, I don't know how to crochet - so my first few flowers were more like lopsided, wavy circles. But after watching the video above about 15 times and pausing every few seconds, I eventually got the hang of it!
The problem is that now I find I'm addicted to making flowers. I'm supposed to be doing other things (like laundry, dishes...), but all I want to do is crochet flowers! I'm quickly amassing a collection of different yarns and crochet hooks and dreaming of everything I can embellish with a cute little crocheted flower...
These are larger flowers (just made with thicker yarn). I actually forgot that Mandy had sewn a button in the center of her flowers when I sewed these on, but I originally envisioned a brad in the center.
At some point, I will probably attach some of these to cards or some other paper craft with a brad - or with a button like these.
For now, though, I will just have fun making hundreds of little flowers in different colors!
(My flowers look a little different than the ones in the video because I (not being a crocheter) did not know the difference between a double crochet and a triple crochet. So anywhere that calls for a dc is actually a tc in these pictures. The good news is that now the flowers won't take as long to make, and I'll use less yarn which means...more flowers!!)
Subscribe to:
Posts (Atom)